
Introduction
Screen recording utilities play a crucial role for professionals, educators, and content developers seeking to craft instructional videos, software demonstrations, or record virtual meetings. Wondershare DemoCreator emerges as an efficient yet user-friendly tool for capturing screen activities seamlessly with top-notch quality.
This comprehensive application facilitates effortless screen capture while presenting user-friendly editing features for enriching recordings with annotations, smooth transitions, and captivating elements. DemoCreator empowers you to enhance video content and present a polished and professional appearance.
Be it a tutorial, a presentation, or the need to document processes, DemoCreator’s screen recording and editing capabilities simplify the creation of refined videos.
A Concise Overview of DemoCreator
Wondershare DemoCreator serves as a versatile screen recording tool that streamlines the production of high-quality videos. Featuring an intuitive interface and robust functionalities, it enables effortless capture of screen activities.
The latest iteration of DemoCreator is enriched with AI-driven editing tools and an extensive effects repository that effortlessly elevate your video projects.
The primary features of Wondershare DemoCreator include:
- Diverse recording modes (screen, camera, game, avatar, etc.) catering to various requirements
- High-definition 4K/8K recording at up to 120fps
- Independent audio and screen capture for precise post-production editing
- AI-based editing tools such as automatic captioning, speech-to-text conversion, and intelligent annotations
- Diverse effects library featuring motion graphics, transitions, and overlays
Crafting Professional Videos using Wondershare DemoCreator
Exploring Wondershare DemoCreator: A Comprehensive Guide
Overview
Here are the steps to use the DemoCreator screen recorder for PC:
Step 1: Launch Wondershare DemoCreator
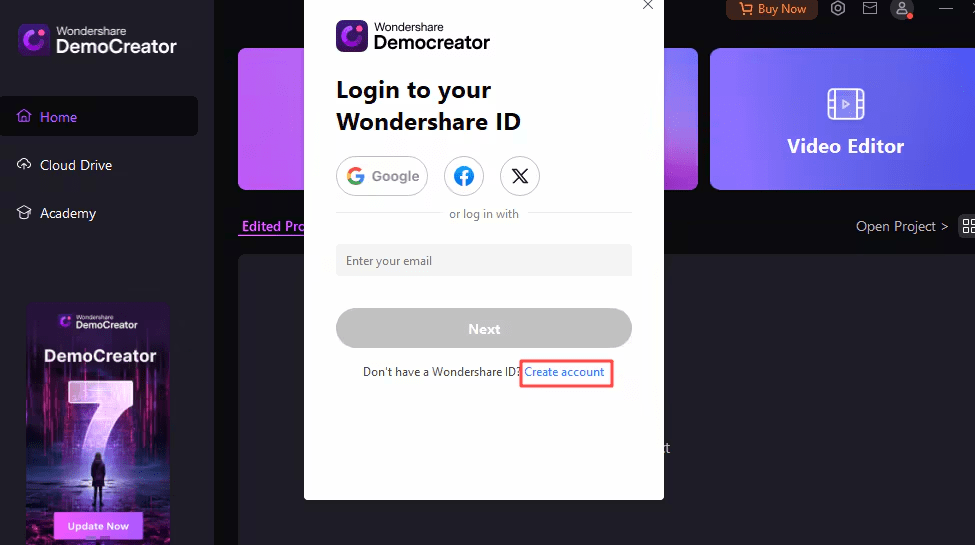
To get started, you’ll need to download the latest version of Wondershare DemoCreator from their official website. Once downloaded, follow the on-screen instructions to install the software on your computer.
Upon launching DemoCreator, you’ll be welcomed by an intuitive interface, simplifying navigation through the recording and editing features.
Step 2: Setting Up Your Recording
Before commencing your recording session, it is crucial to tailor the settings to your preferences. DemoCreator provides a plethora of options for a personalized recording experience.
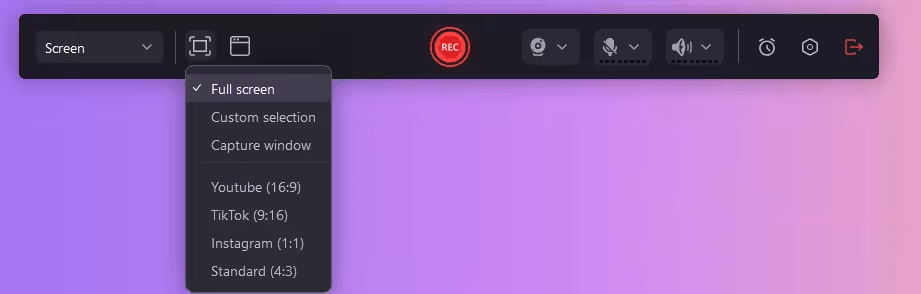
- Personalize Recording Area: Opt for recording the entire screen, a customized selection, a specific window, or capture content in dimensions suitable for social media. This adaptability enables you to concentrate on the area of interest and exclude unnecessary elements.
- Choose Windows: If you intend to record a particular application or window, utilize this feature to pick the desired window from the available options. This ensures that your recording captures only the pertinent content.
- Audio Configuration: Tweak the audio settings to record system sound, microphone input, or both simultaneously. You can also refine the audio levels and select your preferred input devices.
- Quality and Frame Rate: Maintain superior quality in your recordings by selecting suitable resolution and frame rate settings. DemoCreator supports resolutions up to 4K/8K and frame rates up to 120 frames per second, enabling you to capture smooth and detailed footage.
Step 3: Effortless Screen Recording Process

After configuring your settings, commence the recording process. DemoCreator offers user-friendly controls to manage your recording session effectively.
- Begin: Press the crimson “Record” button or use the F9 key to start recording. A timer will display, giving you a moment to prepare before the recording commences.
- Pause/Resume: If you require a break while recording, press F9 again to pause the session. Press once more to seamlessly resume recording.
- End: To conclude the recording session after capturing all necessary content, press F10 or select the stop button.
Moreover, within DemoCreator, you have access to various annotation tools for use during recording. These tools encompass a pen, highlighter, laser pointer, and shape tools, enabling you to accentuate specific elements or offer visual guidance as you record.
Step 4: Polishing Your Recordings for a Professional Touch
After capturing your footage, DemoCreator’s robust editing suite comes into play. Here, you can elevate your video’s quality, incorporate captivating effects, and leverage AI-powered features like AI Auto Caption and AI Text to Speech for a polished end product.
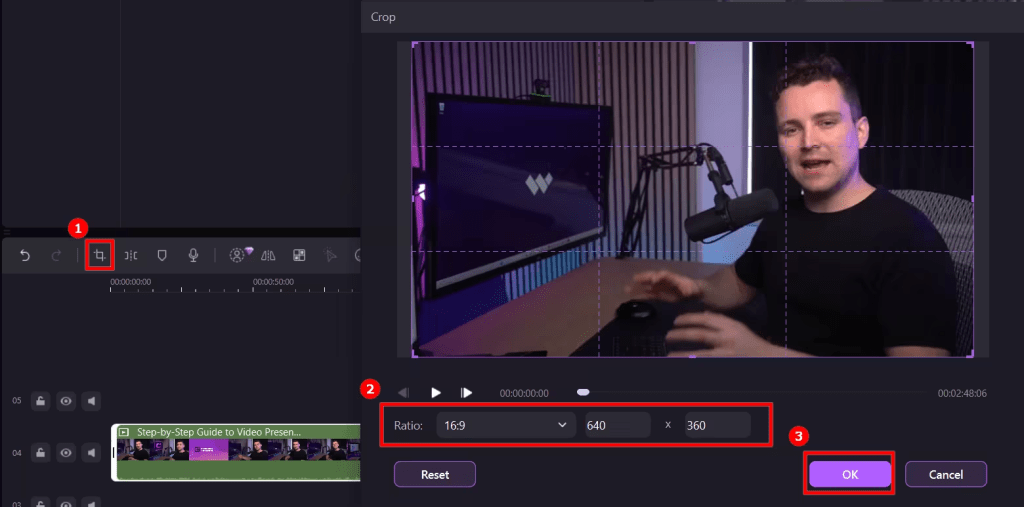
Refine your video by trimming unnecessary segments, splitting or merging clips, and adjusting the sequence of your content. Utilize DemoCreator’s user-friendly timeline for seamless organization and refinement of your video content.
Enhance Your Video with Annotations and Effects
Utilize a diverse array of annotations, from text to shapes and callouts, to emphasize crucial details or enhance the visual appeal of your video content. Dive into a rich collection of effects, encompassing transitions, motion graphics, and overlays, to elevate the overall production quality of your videos.
Step 5: Exporting and Sharing Your Video
After finalizing the editing and refining your video masterpiece, it’s time to export and share it with your intended audience.
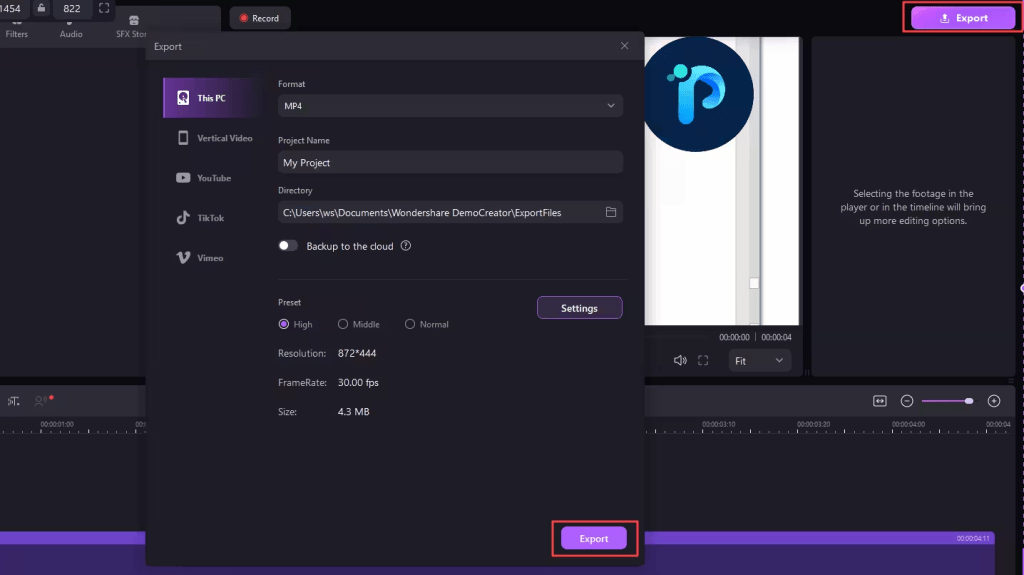
DemoCreator facilitates exporting your video in a variety of formats like MP4, AVI, WMV, MOV, MKV, FLV, TS, WEBM, MP3, M4A, and GIF. Customize the format type, resolution, frame rate, and bitrate to ensure seamless compatibility and top-notch quality.
To retain a copy of your video on your local device, click the «Export» option and designate the preferred storage location on your computer. You can also modify the file name and fine-tune additional export configurations according to your requirements.
Streamlining the process of video sharing on YouTube is a breeze with DemoCreator. Hit the «Export» button, opt for «YouTube,» log in using your YouTube credentials. Enter a title, description, tags for your video content, and specify whether you want it to be public, unlisted, or private.
Conclusion
The Art of Video Creation with Wondershare DemoCreator
The ability to create professional-looking videos is invaluable. Wondershare DemoCreator empowers users with a seamless and comprehensive solution for all their screen recording and video creation needs. From its user-friendly interface to its powerful recording capabilities and extensive editing tools, DemoCreator simplifies the process of crafting high-quality videos.
Unleash Your Creativity
With advanced PC screen recorder features, such as AI-powered editing, motion graphics, and versatile export options, DemoCreator ensures that your video creations stand out and captivate your audience. Whether you’re an educator, marketer, or content creator, this all-in-one software provides everything you need to elevate your video production game effortlessly. Embrace the future of professional video creation with Wondershare DemoCreator.


![Motion Array – Photo Slide Projector [AEP] Free Download](https://i2.wp.com/crack-hub.com/wp-content/uploads/2024/06/Motion-Array-Photo-Slide-Projector-AEP-Free-Download-GetintoPC.com_-300x159-1.jpg?w=300&resize=300,300&ssl=1 "Motion Array – Photo Slide Projector [AEP] Free Download")


